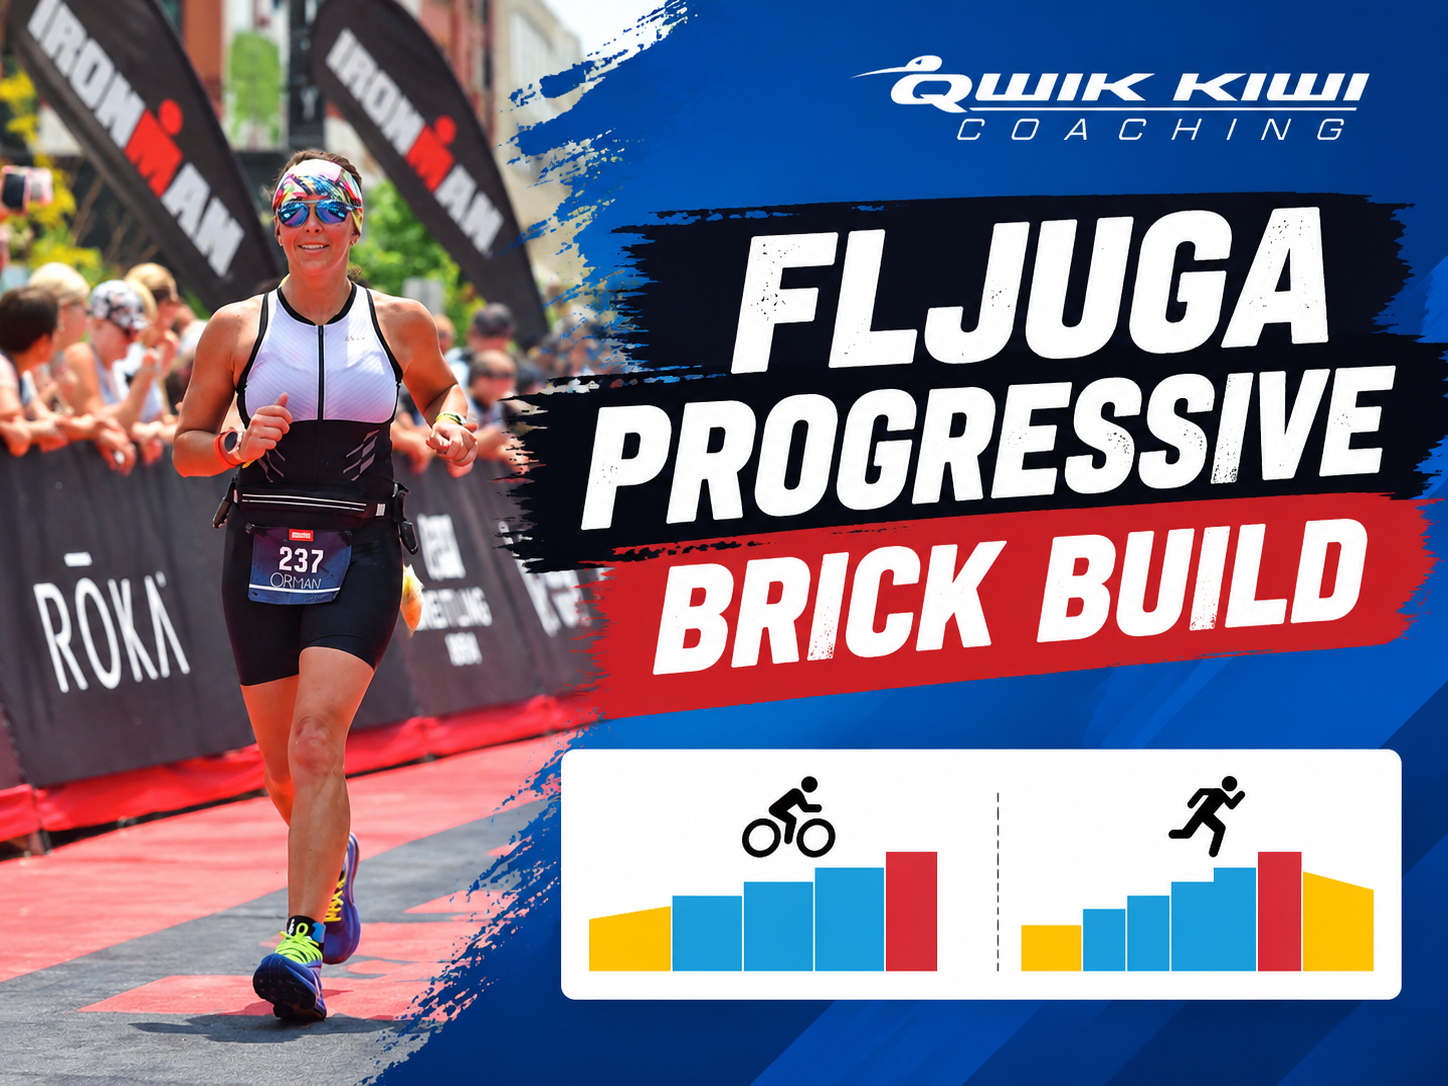
How well can you control your effort when the intensity keeps changing?
This week’s FLJUGA Progressive Brick Build gives you two opportunities to work progressively through the intensity Levels—first on the bike and then again on the run.
Rather than jumping immediately into harder work, you’ll move methodically from Level I through Level II and Level III before reaching Level IV. After transitioning to the run, you effectively reset the progression and build through those same four Levels again.
That makes this more than simply a bike followed by a run. It’s a session about patience, intensity control and knowing what each Level should actually feel like.
The workout lasts 1hr 12min, followed by 10 minutes of stretching.
Why You’re Doing This Session
Progressive workouts reward discipline.
When you know harder efforts are coming, it can be tempting to anticipate them. Level I creeps towards Level II, Level II becomes Level III, and by the time you’re supposed to reach Level IV, there isn’t much room left to increase the effort.
This brick gives you a very clear progression to follow.
On the bike:
Level I → Level II → Level III → Level IV
Then you transition to the run, bring the intensity right back down and build again:
Level I → Level II → Level III → Level IV
Finally, you return to Level I for your cool-down.
The objective is to make each Level distinct. If you execute the workout correctly, every increase should be noticeable without needing to make the earlier sections harder than prescribed.
Session Inspiration
This workout was inspired by a collection of Sprint brick workouts published by FLJUGA.
You can read the original collection here:
I’ve structured the workout around my Level I–V intensity system. If you’re unfamiliar with the Levels, you can read my guides to cycling intensity and running intensity.
What You Should Focus On
On the Bike
The opening 12 minutes at Level I should feel genuinely easy.
Don’t rush through it mentally because you know the harder work is coming. Use this period to warm up, establish a smooth pedal stroke and prepare yourself for the progression ahead.
Move into 10 minutes at Level II. There should be a clear increase in effort, but you’re still well within control.
Your next 10 minutes at Level III make the session considerably more purposeful. Settle into the intensity rather than attacking the first minute.
Finally, increase to Level IV for 5 minutes.
This should be the strongest part of your bike—but remember that the workout doesn’t finish when you get off.
Through Transition
This is where the session takes an interesting turn.
You’ve just finished cycling at Level IV, but you’re not expected to continue running at a similarly high intensity.
Instead, you deliberately bring the effort all the way back to Level I.
Make your transition efficient, then resist the temptation to sprint out of it.
That change from Level IV cycling to Level I running requires discipline in its own right.
On the Run
Your first 5 minutes at Level I give your body an opportunity to adapt from cycling to running.
Your legs may initially feel heavy or awkward. Don’t fight that sensation by increasing your pace. Relax, establish your posture and allow your running stride to develop naturally.
Next comes 5 minutes at Level II. You should feel a definite increase while still remaining comfortable.
You then move into 10 minutes at Level III, where the running becomes more purposeful.
Finally, increase to Level IV for 5 minutes.
This is the hardest part of the workout because you’ve already progressed through the bike and most of the run before reaching it. The goal is a strong, controlled Level IV effort—not an all-out finish.
Complete the session with 10 minutes at Level I to bring your effort gradually back down.
Common Mistakes to Avoid
Starting too hard. Level I should actually be Level I. There’s no prize for turning the warm-up into training intensity.
Blurring the Levels together. Each increase should be noticeable. If Level II and Level III feel almost identical, reassess how you’re controlling your effort.
Making Level IV an all-out effort. Level IV is demanding, but it isn’t Level V.
Running too hard immediately after transition. You’ve deliberately been prescribed Level I. Use it to settle into running before beginning the second progression.
Forgetting about the second build. Don’t spend everything reaching Level IV on the bike. You still need to progress through the Levels again on the run.
Tips for Completing This Session Successfully
Think of the workout as two controlled climbs through your intensity Levels.
The first happens on the bike:
12min Level I → 10min Level II → 10min Level III → 5min Level IV
Then you reset and build again on the run:
5min Level I → 5min Level II → 10min Level III → 5min Level IV
That reset is important.
Don’t interpret dropping from Level IV cycling to Level I running as making the session easier. It allows you to establish your running mechanics after transition before progressively increasing the demand again.
The best execution isn’t necessarily the athlete who produces the fastest Level IV section.
It’s the athlete who can make Level I, Level II, Level III and Level IV clearly distinguishable throughout the entire workout.
Today’s Workout
FLJUGA Progressive Brick Build
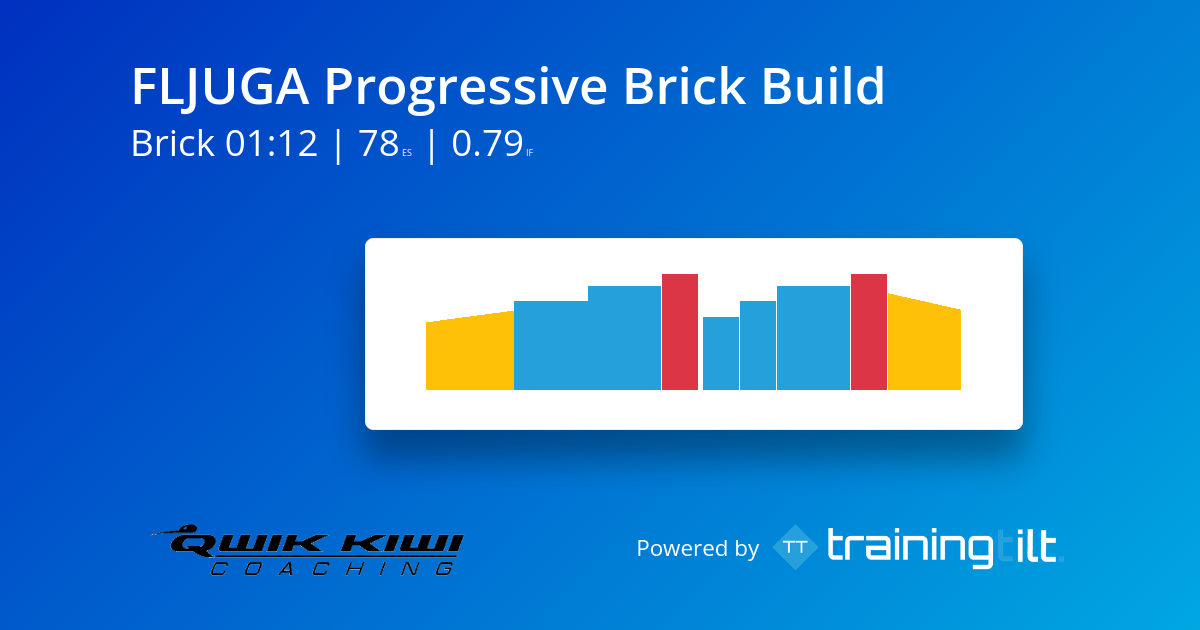
🚴 Bike — 37min
Warm-Up
12min Level I
Progression
10min Level II
10min Level III
5min Level IV
➡️ Transition
Move directly from the bike onto the run.
🏃 Run — 35min
Progression
5min Level I
5min Level II
10min Level III
5min Level IV
Cool-Down
10min Level I
Recovery
10min Stretching
How This Session Should Feel
The defining characteristic of this workout should be contrast.
Level I should feel genuinely easy. Level II should be a clear but comfortable step up. Level III should feel purposeful and sustained. Level IV should be challenging and require concentration.
Then, when you start running, you deliberately return to Level I and begin the process again.
That means the workout has two peaks rather than one continuous rise in intensity.
The second Level IV effort should be particularly satisfying when you’ve paced everything correctly. You’ll reach it with accumulated fatigue from both disciplines, but you should still be capable of maintaining good running form and a controlled Level IV effort.
When you drop back to Level I for the final 10 minutes, you should know that you controlled the workout rather than allowing the workout to control you.
Want to Get More From Your Brick Training?
Brick workouts are much more than simply adding a run after your bike.
Knowing when to use them, how hard to make them and what you’re trying to achieve can help you get considerably more value from your triathlon training.
Get my FREE Brick Session Blueprint for practical guidance on:
- structuring smarter brick sessions;
- improving your bike-to-run pacing;
- developing stronger running off the bike; and
- using bricks appropriately from Sprint through to Ironman-distance training.
Get the FREE Brick Session Blueprint and start making every brick session count.